- TIPS & TRICKS/
- How to Route Approvals in Teams Without the Email Tennis (Power Automate, Step by Step)/
- TIPS & TRICKS/
- How to Route Approvals in Teams Without the Email Tennis (Power Automate, Step by Step)/
How to Route Approvals in Teams Without the Email Tennis (Power Automate, Step by Step)
Every office has an approval chain that lives in email — a request goes out, someone forwards it, someone else replies "approved?" three days later, and nobody can find the final answer when it matters. It's not that people are slow. It's that email was never built to track a yes/no decision.
In about 15 minutes you'll build a Power Automate flow that turns any request into a proper Approval — sent straight into Teams, answered with one tap, and logged automatically so there's a record of who approved what and when. No forwarding, no reply-all, no "did this ever get signed off?" No code — just the Approvals app already sitting in Teams.
This is the fifth in our build-along series of seven Power Automate guides — Flow 5, following Flow 1, Flow 3 and Flow 4. Where Flow 4 ran on a schedule, this one runs on a trigger you choose — a form, a list, or a manual start — and hands the decision to the right person without anyone leaving Teams.
What you'll need before you start
- A Microsoft 365 business account with Teams (the Approvals app comes as standard) and Power Automate.
- Something worth approving — a SharePoint list item, a Microsoft Forms response, or just a manual trigger for one-off requests. This walkthrough uses a SharePoint list (e.g. "Expense requests" or "Holiday requests").
- The name of the approver — a specific person, not a group inbox.
- About 15 minutes.
Time-saver: decide now what counts as "approved" downstream — does a yes update the list, notify a channel, or trigger a next step? Knowing that before you start makes Step 3 quicker.
The flow at a glance
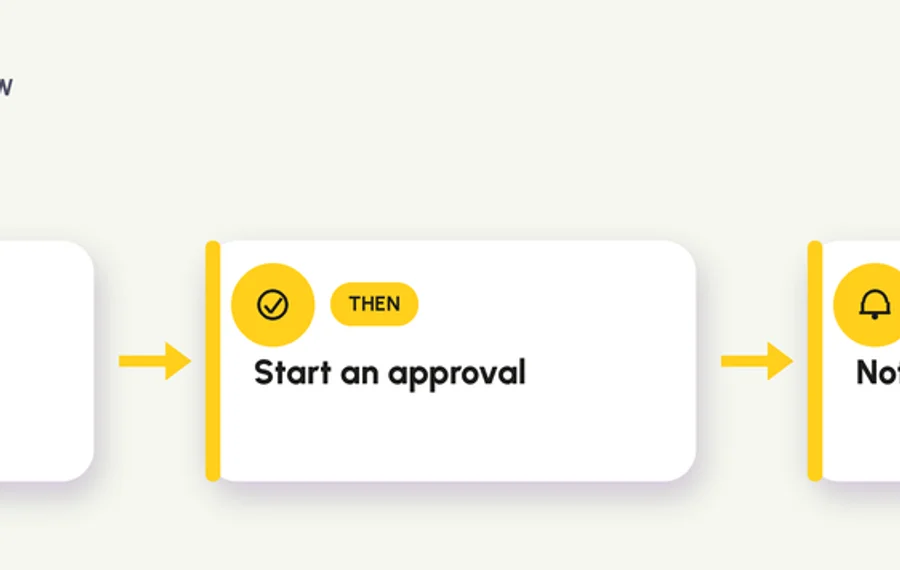
In plain English: When a new request comes in → start and wait for an approval in Teams → act on the outcome, whichever way it goes. Three steps. The middle one does almost all the work.
Step 1 — Create the flow and add the trigger
- Go to make.powerautomate.com, sign in with your work account, and choose Create → Automated cloud flow.
- Name it something like "Expense request → Teams approval".
- Search the trigger box for SharePoint and choose "When an item is created". Click Create.
- On the trigger, set Site Address to your SharePoint site and List Name to the list holding the requests.
Using a form instead? Swap the trigger for "When a new response is submitted" (Microsoft Forms) and add a Get response details step first — see Flow 3 for exactly how that works.
Step 2 — Start and wait for an approval (the step that replaces the email chain)
This is the whole flow. One action does what used to take a forwarded email and a follow-up chase.
- Click + New step, search approvals, and choose "Start and wait for an approval" under the Standard approvals connector.
- Set Approval type to Approve/Reject – First to respond (or Everyone must approve if the request needs more than one sign-off).
Don't panic if the action looks empty. When you first add it, only Approval type renders. Title, Assigned to, Details and Item link appear underneath once you have chosen a type, so pick that first and the rest of the form fills in.
- Title: build something specific from dynamic content — e.g. `Expense request from [Name] – £[Amount]`. A vague title ("New request") is how approvals get ignored.
- Assigned to: add the approver's email address. This can be dynamic content too, if the approver depends on the request (e.g. a manager column on the list).
- Details: add the fields the approver actually needs to decide — amount, dates, reason — pulled from the trigger's dynamic content.
Why this beats email: the approver gets a Teams notification, a card with Approve/Reject buttons, and an optional comment box — all inside Teams, no forwarding required. The flow pauses here and waits for their answer.
Step 3 — Act on the outcome
- Click + New step, search condition, and add a Condition.
- Set it to check Outcome (from the approval step) is equal to `Approve`.
- In the True branch, add what should happen next — e.g. Update item (SharePoint) to mark the request "Approved", or Post message in a chat or channel (Teams) to confirm it.
- In the False branch, add the rejected path — e.g. update the status to "Rejected" and post a message with the approver's comments.
- Click Save.
That's the working flow. A request comes in, the right person approves or rejects it in Teams, and the outcome updates automatically.
Step 4 — Test it
- Click Test → Manually → Test.
- Create a test item in the list (or submit a test form response).
- Check Teams — the approver should see a new approval card in the Approvals app within a minute or two.
The approver picks from Approve, Reject or Reassign, and can leave an optional comment. Reassign hands the decision to someone else without breaking the flow, which is the usual answer to "the approver is on holiday".
- Approve or reject it, then check the list — the status should update to match.
If nothing arrives in Teams, check the Assigned to field first — it's the most common miss, usually a typo in the email address or a group address the Approvals app can't use.
Common gotchas (and the fixes)
- The approver never gets notified. Check Assigned to is a single real mailbox, not a distribution list or Teams channel — Approvals needs an individual account.
- The flow doesn't wait — it runs the "next step" immediately. Make sure the condition and downstream actions sit after "Start and wait for an approval" in the flow, not in parallel with it.
- Multiple approvers, but only one response is needed. Use Approve/Reject – First to respond, not "Everyone must approve" — the second one waits for every named approver regardless of what's already been decided.
- You need a record of past approvals. The Approvals app in Teams keeps a history automatically — no extra step needed, but you can also log the outcome to a SharePoint list for reporting.
Make it your own
- Chain it after Flow 3 — a form response creates a Planner task and routes for approval before work starts.
- Add an escalation: if there's no response within a set time, use a Delay and a second Start and wait for an approval to a backup approver.
- Route different amounts to different approvers with a Condition before the approval step — e.g. anything over £500 goes to a manager, everything else self-approves.
You just replaced an email chain with a one-tap decision
The lesson here — let Teams hold the decision, not an inbox — removes the single biggest source of "did this get approved?" chasing in most offices. Once this pattern is built once, every approval process in the business becomes the same three steps.
If you'd rather learn this hands-on, building real approval flows like this with a trainer in the room, that's exactly what our Power Automate Advanced course is for. New to flows altogether? Power Automate Introduction starts from the basics.
Next in the series: Flow 6 — Log form submissions to an Excel/SharePoint list.
Next available dates
Power Automate Introduction
Live, instructor-led training with a real trainer. Book a seat on a scheduled date below, or get a quote for your team to run it privately.
5 Nov 2026
Thursday · Virtual · 1 day
£445per person + VAT
28 Jan 2027
Thursday · Virtual · 1 day
£445per person + VAT
30 Mar 2027
Tuesday · Virtual · 1 day
£445per person + VAT
Other courses related to this article
Ready to train your team?
Tell us what you need and we'll come back to you with a detailed quote.
- Tailored contentBuilt around your team's work and skill levels.
- Flexible schedulingDates and times that suit your team, not ours.
- Your place or onlineDelivered at your office or virtually.
- Better value per headOne trainer, one day, your whole team.
- A dedicated trainerYour team gets all of the trainer's attention.
- Realistic examplesSample data built around the kind of work your team does.
We reply with available dates and a price for your team. No obligation.
Related Articles
 Tips & Tricks
Can you Calculate Variance Using Excel?
In this guide, we explain variance as a measure of how widely data points deviate from the mean and shows why understanding this spread is useful for deeper insight and risk assessment. It walks readers through calculating variance in Excel, distinguishing between the VAR.S function for a sample and VAR.P for an entire population, then demonstrates each with a car-sales case study.
 Tips & Tricks
How to Use Excel Lookup with Multiple Criteria
This blog explains how Excel’s LOOKUP functions—particularly XLOOKUP and VLOOKUP—can retrieve data based on multiple criteria. It walks through a step-by-step example of finding an employee’s sales in a specific region, showing both an XLOOKUP formula and a VLOOKUP alternative that uses a helper column.
 Tips & Tricks
Excel Skills Self-Assessment Questionnaire
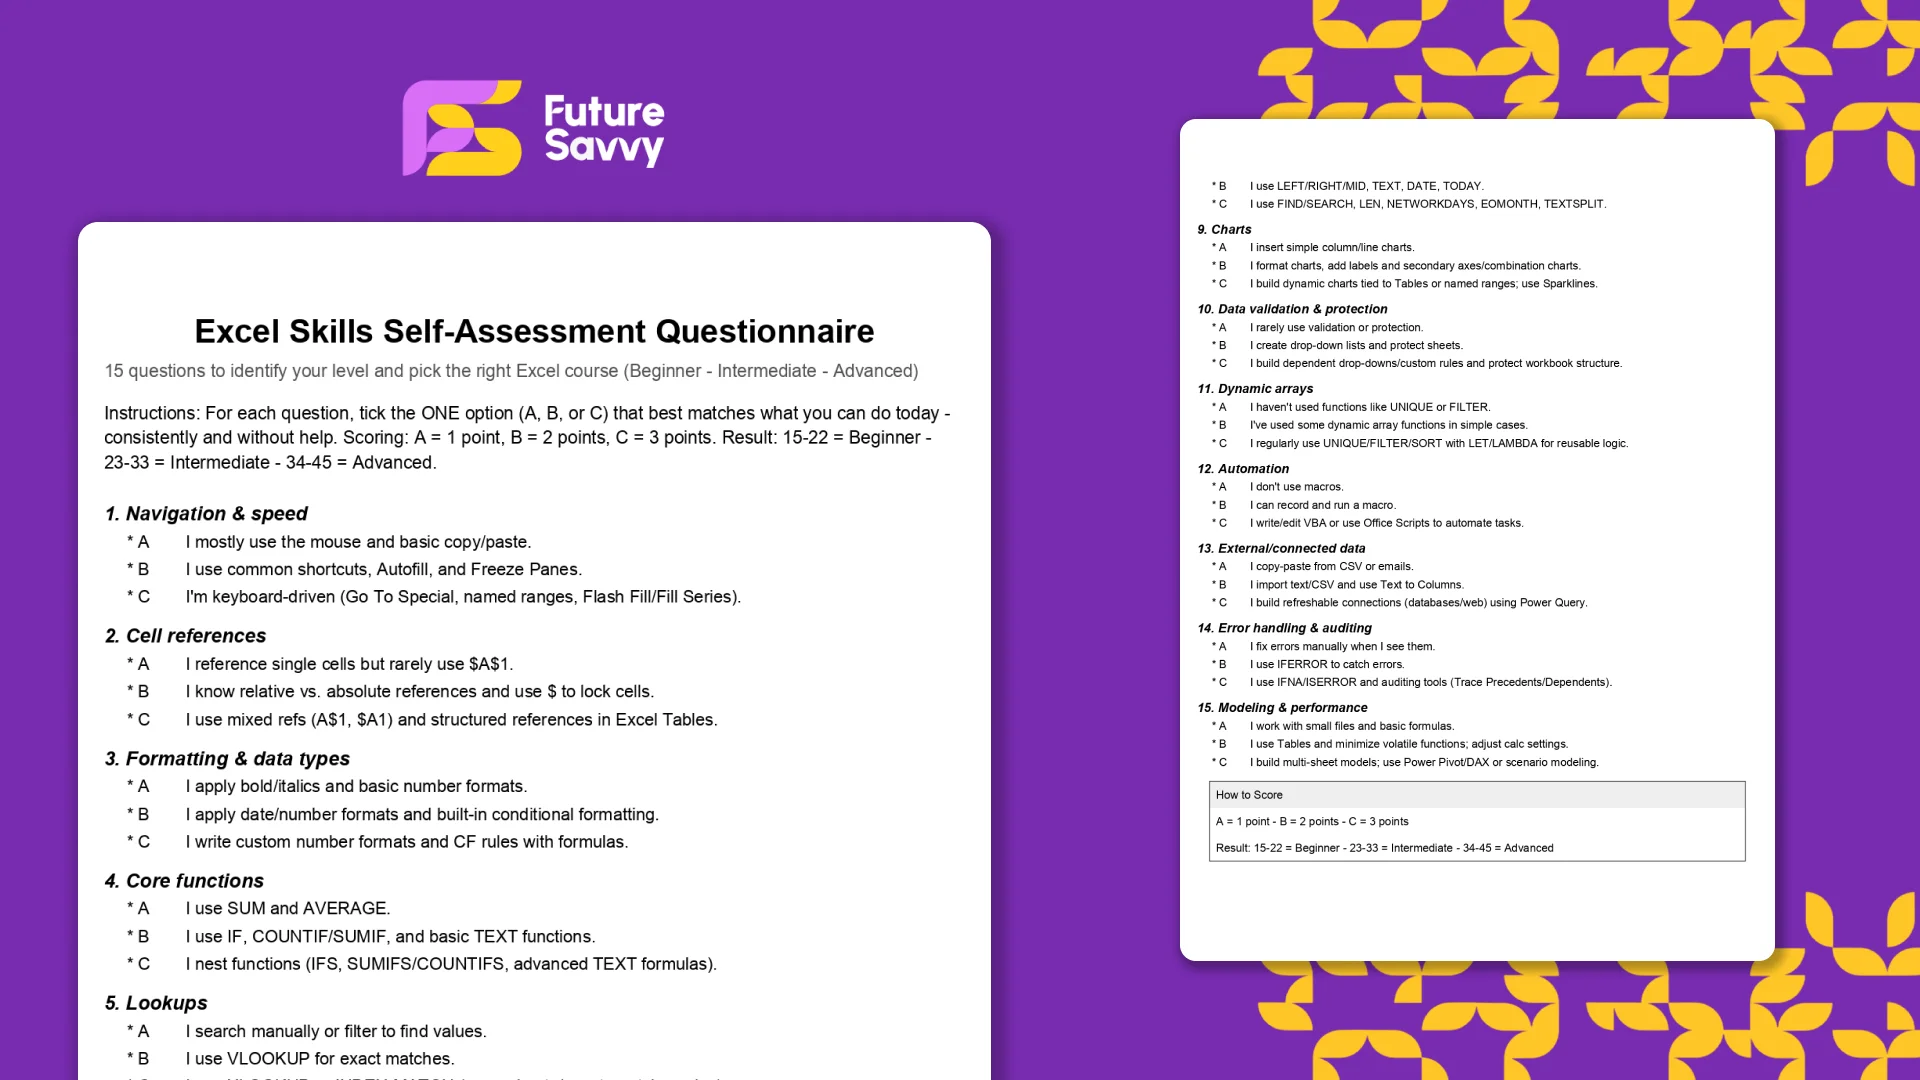
This free, printable Excel Skills Self-Assessment helps you quickly gauge your level and pick the right next step in your learning path. It contains 15 multiple-choice questions spanning navigation, formulas, lookups, tables, PivotTables, charts, dynamic arrays, Power Query, and more. You’ll score yourself and interpret the result to see whether you’re Beginner, Intermediate, or Advanced - then follow tailored course recommendations based on your score.
Insights for modern teams
Stay ahead with our latest learning trends, tools, and success stories. Enter your email address below to receive updates from us.