- TIPS & TRICKS/
- How to Automatically Save Email Attachments to SharePoint (Power Automate, Step by Step)/
- TIPS & TRICKS/
- How to Automatically Save Email Attachments to SharePoint (Power Automate, Step by Step)/
How to Automatically Save Email Attachments to SharePoint (Power Automate, Step by Step)
If your team emails invoices, signed forms, timesheets or reports around all day, someone is downloading those files and dragging them into SharePoint by hand. It's dull, it's easy to forget, and files end up scattered across inboxes.
In the next 15 minutes you'll build a Power Automate flow that does it for you: every time an email arrives with an attachment, the file saves itself to a SharePoint library. No code, no developer — just the tools already in your Microsoft 365 subscription.
This is the first in our series of seven build-along Power Automate guides. It's the one we start people on in our workshops, because it's genuinely useful and it teaches the pattern everything else builds on: a trigger, a loop, and an action.
What you'll need before you start
- A Microsoft 365 business account with Outlook and SharePoint (any standard business plan includes Power Automate for flows like this).
- A SharePoint site and document library where the files should land. Create one first if you need to — note the site name and the library/folder.
- Permission to that library (you need to be able to add files).
- About 15 minutes.
Time-saver: decide now which folder the files go in and roughly how you'll tell "real" attachments apart from things like email-signature logos. We'll handle both below.
The flow at a glance
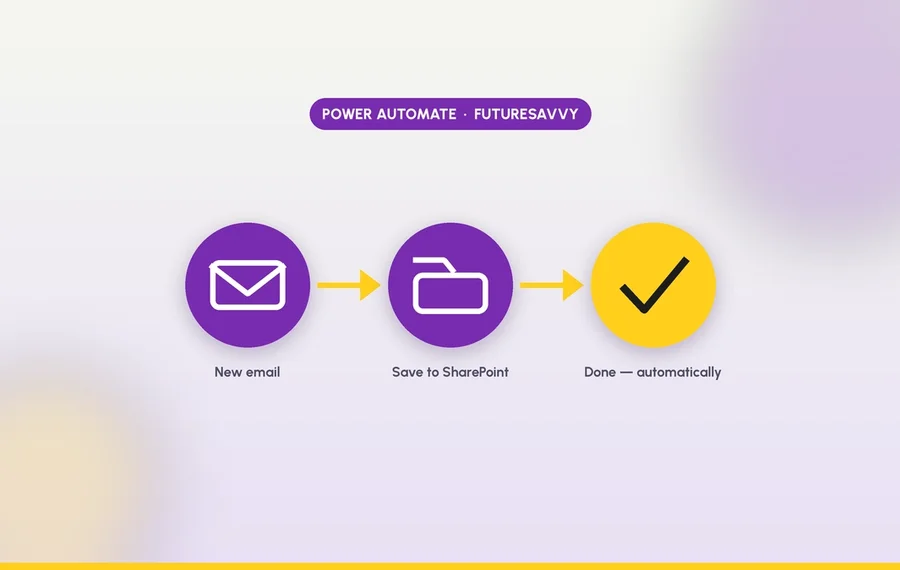
In plain English: When a new email arrives that has an attachment → for each attachment → create a file in SharePoint with that attachment's name and content.
Create a new automated flow
- Go to make.powerautomate.com and sign in with your work account.
- In the left menu choose Create, then select Automated cloud flow.
- Give it a clear name — e.g. "Save email attachments to SharePoint". Future-you will thank you.
- In the trigger search box, type email and choose "When a new email arrives (V3)" (the Office 365 Outlook connector). Click Create.
What you’re seeing: the “Build an automated cloud flow” dialog — we’ve named the flow and searched the trigger list for a new email arriving.
What you’re seeing: the trigger results — we picked “When a new email arrives (V3)”, the Office 365 Outlook (work mailbox) version, not Outlook.com.
Configure the trigger (this is where most people go wrong)
Click the trigger on the canvas to open its Parameters. Under Advanced parameters, click Show all to reveal every option, then set the following:
What you’re seeing: the trigger’s settings after Advanced parameters → Show all — this is where you switch on Include Attachments / Only with Attachments and add any From or Subject filters.
- Folder:
Inbox(or a specific sub-folder if you route these emails with a rule — more reliable than filtering the whole inbox). - Only with Attachments: Yes — the flow will ignore emails that have none.
- Include Attachments: Yes — critical. If this is No, the attachment content never reaches the flow and nothing saves.
- From (optional): lock it to a specific sender, e.g.
invoices@supplier.com, so only the emails you care about trigger it. - Subject Filter (optional): e.g.
Invoice— only fires when that word appears in the subject.
Why the filters matter: without them, every email with any attachment triggers the flow — including newsletters and signature logos. A From or Subject Filter keeps it tight.
Add the SharePoint action (the loop is automatic)
A single email can carry several files, so each attachment has to be handled one at a time — a loop. Here's the good news: in the current designer you don't build the loop yourself. As soon as you use an attachment field in the next step, Power Automate wraps it in an Apply to each loop for you. So we go straight to the action.
- Click the + under the trigger, choose Add an action, and search for Create file.
What you’re seeing: the “Add an action” panel, opened from the + under the trigger — this is where we add the step that saves the file.
- Under the SharePoint heading, choose Create file (there's a OneDrive "Create file" too — make sure you pick the SharePoint one).
What you’re seeing: the search for “Create file” — note it appears under both OneDrive and SharePoint, so pick the SharePoint one.
- Fill the fields:
- Site Address: pick your SharePoint site from the dropdown.
- Folder Path: browse to the target library/folder (e.g.
/Shared Documents/Incoming Invoices). - File Name: add the dynamic content Attachments Name.
- File Content: add the dynamic content Attachments Content.
What you’re seeing: the SharePoint Create file action and its four fields — where you point the flow at your site and library and map the file name and content.
The moment you drop Attachments Name into the File Name field, you'll see the whole step slide inside an Apply to each — that's Power Automate adding the loop for you.
- Click Save (top right).
That's the flow built.
Test it
- Click Test (top right) → Manually → Test.
- Send yourself an email that matches your filters, with a file attached.
- Watch the run: a green tick on each step means success. Open your SharePoint library — the file should be sitting there.
If a step shows a red error, click it to read the message — it almost always tells you exactly which field is unhappy.
Common gotchas (and the fixes)
- Two files with the same name overwrite each other. In File Name, put the date in front: click the field, add an Expression —
formatDateTime(utcNow(),'yyyy-MM-dd')— then a hyphen, then Attachments Name. Now you get2026-07-07-invoice.pdf. - Random tiny images keep saving (company logos in signatures count as attachments). Add a Condition before the Create file step: Attachments Size is greater than
20000(bytes) to skip anything under ~20 KB. - "Include Attachments" was left on No. The classic. If files save with 0 KB or nothing appears, this is why.
- Wrong library. Folder Path must point at the document library, not the site root.
Make it your own
- Swap SharePoint → Create file for OneDrive for Business → Create file to save to a personal drive instead.
- Add a Post message in a chat or channel (Teams) action after the save, so the team gets a heads-up that a new file landed. (That's the next guide in this series — the two combine nicely.)
- Point different senders at different folders by duplicating the flow with different filters.
You just automated a job nobody enjoyed
This is the core Power Automate pattern — trigger, loop, action — and once it clicks, the other six flows in this series are variations on the same idea.
If you'd rather learn this hands-on, building real flows like this with a trainer in the room, that's exactly what our Power Automate Introduction course is for. Prefer to go deeper into approvals, error handling and multi-step logic? Power Automate Advanced picks up where this leaves off.
Next in the series: Get a Teams alert when an important email arrives — the next guide in this series (coming soon).
Part of: 7 Power Automate Flows That Save UK Office Teams Hours Every Week
Next available dates
Power Automate Introduction
Live, instructor-led training with a real trainer. Book a seat on a scheduled date below, or get a quote for your team to run it privately.
5 Nov 2026
Thursday · Virtual · 1 day
£445per person + VAT
28 Jan 2027
Thursday · Virtual · 1 day
£445per person + VAT
30 Mar 2027
Tuesday · Virtual · 1 day
£445per person + VAT
Other courses related to this article
Ready to train your team?
Tell us what you need and we'll come back to you with a detailed quote.
- Tailored contentBuilt around your team's work and skill levels.
- Flexible schedulingDates and times that suit your team, not ours.
- Your place or onlineDelivered at your office or virtually.
- Better value per headOne trainer, one day, your whole team.
- A dedicated trainerYour team gets all of the trainer's attention.
- Realistic examplesSample data built around the kind of work your team does.
We reply with available dates and a price for your team. No obligation.
Related Articles
 Tips & Tricks
Can you Calculate Variance Using Excel?
In this guide, we explain variance as a measure of how widely data points deviate from the mean and shows why understanding this spread is useful for deeper insight and risk assessment. It walks readers through calculating variance in Excel, distinguishing between the VAR.S function for a sample and VAR.P for an entire population, then demonstrates each with a car-sales case study.
 Tips & Tricks
How to Use Excel Lookup with Multiple Criteria
This blog explains how Excel’s LOOKUP functions—particularly XLOOKUP and VLOOKUP—can retrieve data based on multiple criteria. It walks through a step-by-step example of finding an employee’s sales in a specific region, showing both an XLOOKUP formula and a VLOOKUP alternative that uses a helper column.
 Tips & Tricks
Excel Skills Self-Assessment Questionnaire
This free, printable Excel Skills Self-Assessment helps you quickly gauge your level and pick the right next step in your learning path. It contains 15 multiple-choice questions spanning navigation, formulas, lookups, tables, PivotTables, charts, dynamic arrays, Power Query, and more. You’ll score yourself and interpret the result to see whether you’re Beginner, Intermediate, or Advanced - then follow tailored course recommendations based on your score.
Insights for modern teams
Stay ahead with our latest learning trends, tools, and success stories. Enter your email address below to receive updates from us.