- TIPS & TRICKS/
- How to Turn Every Microsoft Form Response Into a Planner Task (Power Automate, Step by Step)/
- TIPS & TRICKS/
- How to Turn Every Microsoft Form Response Into a Planner Task (Power Automate, Step by Step)/
How to Turn Every Microsoft Form Response Into a Planner Task (Power Automate, Step by Step)
Microsoft Forms is brilliant for collecting things — holiday requests, IT tickets, event sign-ups, new-starter details. The problem is what happens next: someone opens the responses spreadsheet every morning, reads down the list, and manually creates a job for each one. Miss a day and the backlog builds. Miss a row and something falls through.
In about 15 minutes you'll build a Power Automate flow that closes that gap: every time someone submits your form, a task appears in Microsoft Planner automatically — titled, described, and dropped in the right bucket, ready for the team to pick up. No code, no daily copy-paste — just the tools already in your Microsoft 365 subscription.
This is the third in our build-along series of seven Power Automate guides — Flow 3, following Flow 1 and Flow 2. It introduces the one pattern that trips people up more than any other: the trigger doesn't hand you the answers — you have to go and fetch them. Get that right here and half the flows you'll ever build become easy.
What you'll need before you start
- Microsoft 365 business account with Microsoft Forms, Planner and Power Automate (standard business plans include all three).
- A form that's already collecting responses — or five minutes to make one. Note a couple of its questions; you'll map them to the task.
- A Planner plan and bucket where the tasks should land. Create the plan first if you need to, and note the bucket name (e.g. To do).
- About 15 minutes.
Time-saver: decide now which form question becomes the task title (usually a name or a subject line) and which becomes the description. Knowing that before you start makes the mapping step obvious.
The flow at a glance
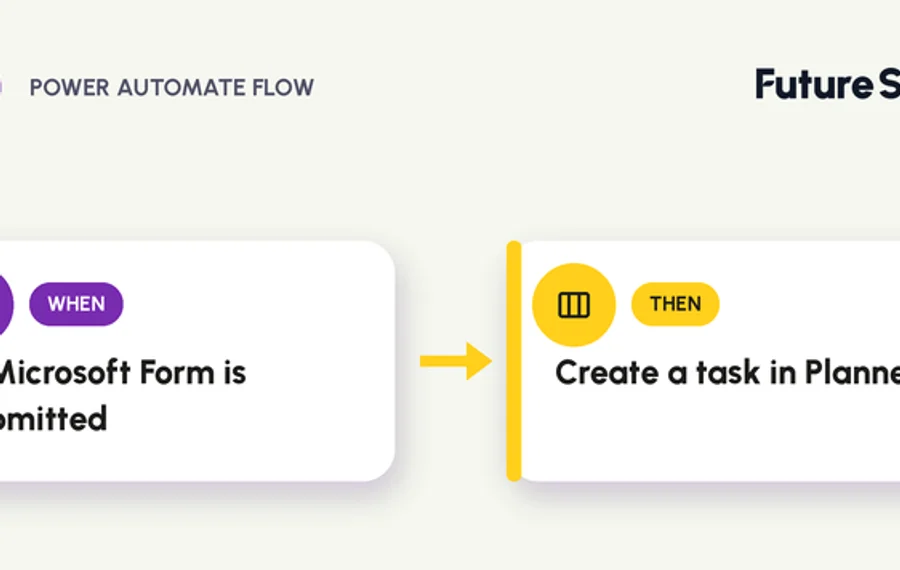
In plain English: When a new response is submitted → get the details of that response → create a task in Planner using the answers. Three steps. The middle one is the step everyone forgets.
Step 1 — Create the flow and add the trigger
- Go to make.powerautomate.com, sign in with your work account, and choose Create → Automated cloud flow.
- Name it something like "Form response → Planner task".
- Search the trigger box for forms and choose "When a new response is submitted" (Microsoft Forms). Click Create.
- On the trigger, open the Form Id dropdown and choose your form.
Only your own forms show here. If the form belongs to a group or a colleague, share it with your account first, or the flow can't see it.
Step 2 — Get the response details (the step everyone skips)
Here's the catch that costs people an hour of head-scratching: the trigger only gives you a Response Id — a reference number, not the actual answers. To read what someone typed, you have to add a second step that fetches the response.
- Click + New step, search Get response details, and choose it under the Microsoft Forms connector.
- Set Form Id to the same form as the trigger.
- Click into Response Id and add the dynamic content Response Id (from the trigger).
Do this and every question on your form becomes available as dynamic content in the next step. Skip it and you'll have nothing to put in the task but a reference number.
Step 3 — Create the Planner task
- Click + New step, search Create a task, and choose it under the Planner connector.
- Fill the fields:
- Group Id: pick the Microsoft 365 group that owns your plan.
- Plan Id: pick the plan (it filters to the group you chose).
- Bucket Id: optional, and not shown by default. Create a task lists only Group Id, Plan Id and Title — Bucket Id sits under Advanced parameters, so click Show all if you want the task to land in a specific bucket.
- Title: add the form answer you chose as the title — e.g. the dynamic content for your Name or Subject question.
- Click Save.
That's the working flow. A form comes in, a task appears.
Step 4 — Add the details (optional but worth it)
A title alone makes a thin task. To carry the rest of the answers across, add one more step:
- After Create a task, add an action and search for Update task details (Planner).
- Set Task Id to the Id from the Create a task step. Task Id is a dropdown that will read "No items" — click Enter custom value first, then insert the dynamic content Id. Miss that and there is nothing to select.
- In Description, build a readable summary from the form answers — e.g. Requested by: [Name], a line break, Details: [Description question], Submitted: [Response Time].
Now whoever opens the task sees everything they need without going back to the responses list.
Step 5 — Test it
- Click Test → Manually → Test.
- Open your form and submit a real response.
- Watch the run: a green tick on each step means success. Open Planner — a new task should be sitting in your bucket with the right title and details.
If a step shows a red error, click it to read the message — it almost always names the field that's unhappy.
Common gotchas (and the fixes)
- The task title is blank or shows a code. You mapped the Response Id instead of a real answer — that's the missing "Get response details" step. Add it, then re-map Title to an actual question.
- "Create a task" can't see your plan. The Group Id and Plan Id have to match — pick the group first, then the plan filters to it.
- Answers come through as odd IDs, not text. Choice questions can return option IDs. Where that happens, map the question's display value, or add a quick Condition to translate it.
- Tasks land in the wrong bucket. Bucket names repeat across plans — double-check you picked the bucket under the right plan.
Make it your own
- Add a Post message in a chat or channel (Teams) step so the team gets pinged the moment a task is created — pairs neatly with Flow 2 in this series.
- Use a Condition to route urgent submissions to a different bucket or assignee — e.g. if the form's Priority answer is High.
- Assign the task automatically by adding Assigned User Ids in Create a task, so it lands with the right person, not just the right bucket.
You just turned a form into a to-do list that fills itself
The lesson here — fetch the details before you use them — is one of the most useful habits in Power Automate. Once "Get response details" is second nature, forms, approvals and adaptive cards all open up.
If you'd rather learn this hands-on, building real flows like this with a trainer in the room, that's exactly what our Power Automate Introduction course is for. Ready for conditions, assignments and multi-step logic? Power Automate Advanced picks up where this leaves off.
Next in the series: Flow 4 — Get a reminder before a deadline.
Part of: 7 Power Automate Flows That Save UK Office Teams Hours Every Week — see all seven flows in the series.
Next available dates
Power Automate Introduction
Live, instructor-led training with a real trainer. Book a seat on a scheduled date below, or get a quote for your team to run it privately.
5 Nov 2026
Thursday · Virtual · 1 day
£445per person + VAT
28 Jan 2027
Thursday · Virtual · 1 day
£445per person + VAT
30 Mar 2027
Tuesday · Virtual · 1 day
£445per person + VAT
Other courses related to this article
Ready to train your team?
Tell us what you need and we'll come back to you with a detailed quote.
- Tailored contentBuilt around your team's work and skill levels.
- Flexible schedulingDates and times that suit your team, not ours.
- Your place or onlineDelivered at your office or virtually.
- Better value per headOne trainer, one day, your whole team.
- A dedicated trainerYour team gets all of the trainer's attention.
- Realistic examplesSample data built around the kind of work your team does.
We reply with available dates and a price for your team. No obligation.
Related Articles
 Tips & Tricks
Can you Calculate Variance Using Excel?
In this guide, we explain variance as a measure of how widely data points deviate from the mean and shows why understanding this spread is useful for deeper insight and risk assessment. It walks readers through calculating variance in Excel, distinguishing between the VAR.S function for a sample and VAR.P for an entire population, then demonstrates each with a car-sales case study.
 Tips & Tricks
How to Use Excel Lookup with Multiple Criteria
This blog explains how Excel’s LOOKUP functions—particularly XLOOKUP and VLOOKUP—can retrieve data based on multiple criteria. It walks through a step-by-step example of finding an employee’s sales in a specific region, showing both an XLOOKUP formula and a VLOOKUP alternative that uses a helper column.
 Tips & Tricks
Excel Skills Self-Assessment Questionnaire
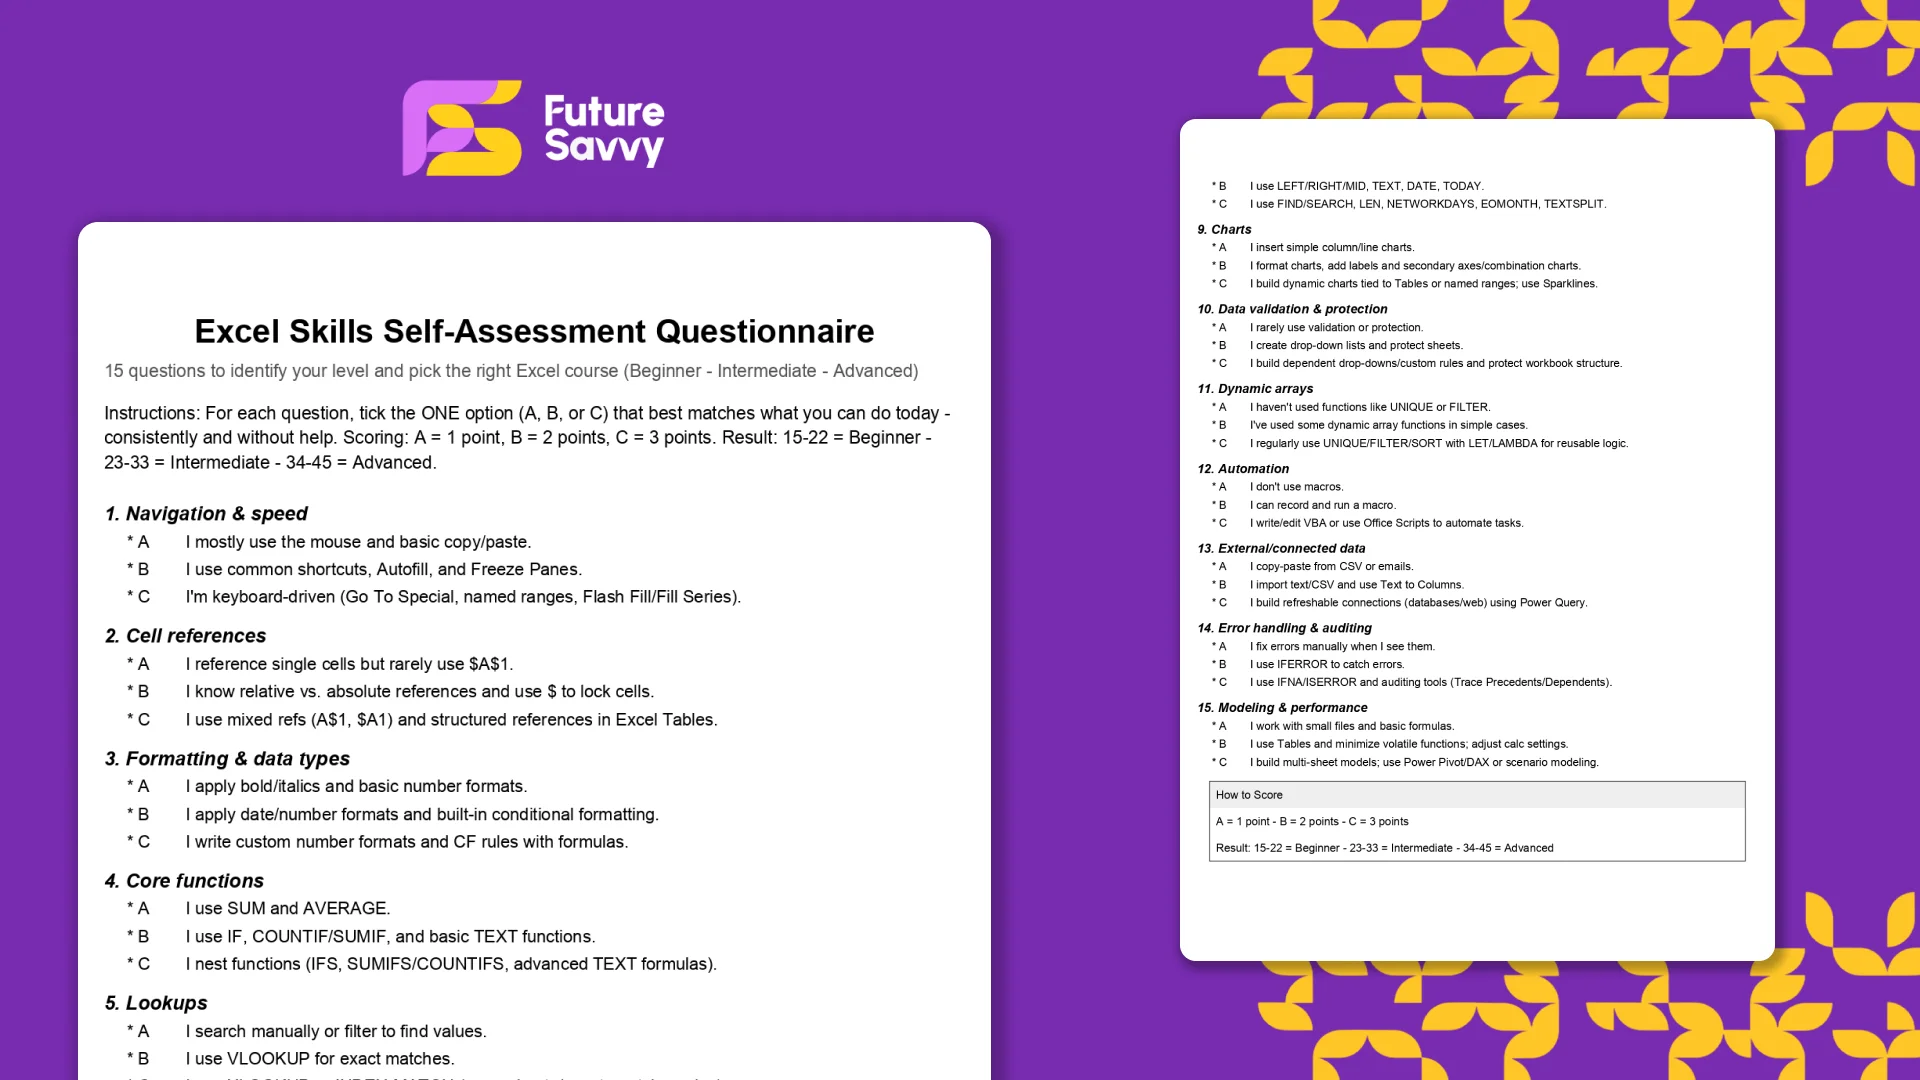
This free, printable Excel Skills Self-Assessment helps you quickly gauge your level and pick the right next step in your learning path. It contains 15 multiple-choice questions spanning navigation, formulas, lookups, tables, PivotTables, charts, dynamic arrays, Power Query, and more. You’ll score yourself and interpret the result to see whether you’re Beginner, Intermediate, or Advanced - then follow tailored course recommendations based on your score.
Insights for modern teams
Stay ahead with our latest learning trends, tools, and success stories. Enter your email address below to receive updates from us.