- TIPS & TRICKS/
- How to Post a Scheduled Weekly Digest to Teams Automatically (Power Automate, Step by Step)/
- TIPS & TRICKS/
- How to Post a Scheduled Weekly Digest to Teams Automatically (Power Automate, Step by Step)/
How to Post a Scheduled Weekly Digest to Teams Automatically (Power Automate, Step by Step)
Most teams have a status update ritual that runs on goodwill rather than process: someone has to remember to check what changed this week, write it up, and post it before Monday's meeting. Skip a week when they're busy, and the team just... doesn't know what happened.
In about 15 minutes you'll build a Power Automate flow that gathers everything that changed in a list this week and posts one tidy digest to Teams automatically — same time, every week, with nobody compiling it by hand.
This is the seventh and final guide in our build-along series of Power Automate flows — Flow 7, following Flow 1, Flow 3, Flow 4 and Flow 5. It combines two patterns you've already seen — a scheduled trigger from Flow 4, and gathering items to act on — and adds one new idea: building a message out of several results, not just one.
What you'll need before you start
- A Microsoft 365 business account with SharePoint, Teams and Power Automate (standard business plans include all three).
- A SharePoint list that changes during the week — a project tracker, a task list, whatever your team already updates. Note the column that shows when an item was last modified.
- About 15 minutes.
Time-saver: if your list doesn't already have one, add a Modified column (SharePoint often includes this by default) — it's what tells the flow what counts as "this week's update".
The flow at a glance
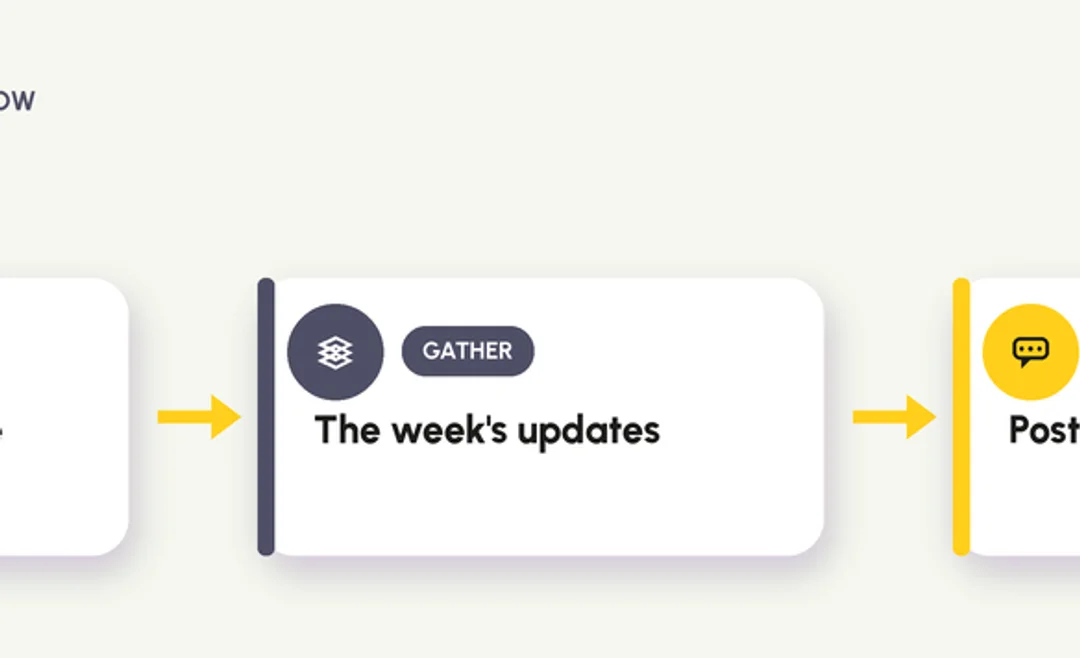
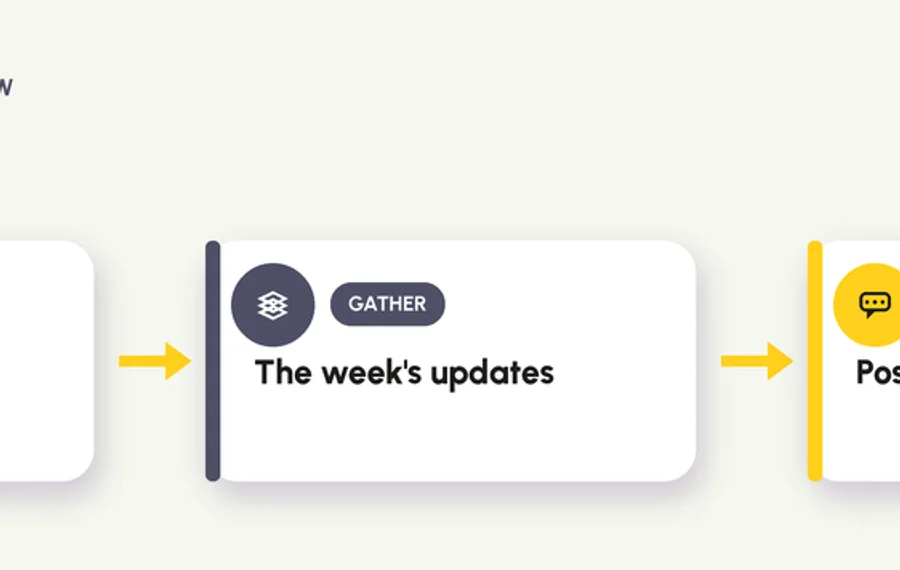
In plain English: on a schedule (once a week) → gather every item modified in the last seven days → build and post a single message summarising them to a Teams channel. Three steps, and the middle one is where this flow earns its keep.
Step 1 — Create the flow and set the weekly schedule
- Go to make.powerautomate.com, sign in with your work account, and choose Create → Scheduled cloud flow.
- Name it something like *"Weekly digest — [your list name]"*.
- Set Starting: the next Monday, a sensible time (e.g. 07:00). Set Repeat every: `1` Week, and tick the day you want it to post. Click Create.
This is the same scheduled pattern from Flow 4 — the flow wakes up on its own rather than waiting for something to happen.
Step 2 — Gather everything modified this week
- Click + New step, search Get items, and choose it under the SharePoint connector.
- Set Site Address and List Name.
- Open Advanced parameters, click Show all to reveal the extra fields, and add a Filter Query:
```
Modified ge '@{formatDateTime(addDays(utcNow(), -7), 'yyyy-MM-dd')}'
```
This asks for everything modified in the last seven days. If your column has a different internal name, use that instead of `Modified` (see the gotcha below).
Unlike Flow 4, which sent one reminder per row, this step is deliberately gathering everything at once — you're building a summary, not a stream of individual alerts.
Step 3 — Build one message from all the results
- Click + New step, search Select, and choose the Select data operation.
- Set From to the value output of Get items.
- In Map, switch from key/value mode to text mode using the toggle to the right of the Map boxes, then enter a single expression that builds each line - for example concat('- ', item()?['Title'], ' (renews ', item()?['DueDate'], ')'). This turns every row into one line of text.
Text mode validates its input as JSON, so a plain template like - @{item()?['Title']} is rejected with 'Enter a valid JSON'. Wrap the whole line in a single concat(...) expression instead and it returns one clean string per item.
- Click + New step, search Join, choose the Join data operation, set From to the output of Select, and Join with to a newline (use the expression `'\n'` if the box won't accept a literal line break).
- Click + New step, search Post message in a chat or channel, choose it under Microsoft Teams, pick the team and channel, and set the message to something like:
```
📋 This week's updates (@{length(body('Select'))} items):
@{outputs('Join')}
```
Select then Join is the pattern worth remembering here: Select turns a list of items into a list of formatted lines, and Join glues those lines into one block of text you can drop straight into a message.
Step 4 — Test it
- Update or add a test item in your list so at least one row falls inside the last seven days.
- Open the flow and click Test → Manually → Test.
- Check the run: a green tick on Get items confirms it found this week's changes; check the Teams channel for the posted digest and confirm the list of updates matches what you expected.
If the digest posts but says "0 items", the filter query is the first place to look — the same internal-column-name gotcha from Flow 4 applies here too.
Common gotchas (and the fixes)
- Filter Query returns nothing, even though items clearly changed. Check the column's internal name under List settings → click the column → look at the URL — `Modified` is usually safe, but a custom "Last Updated" column won't be called that internally.
- The message posts empty, or with odd characters instead of line breaks. Some Teams connectors don't render `\n` directly — if lines run together, wrap the Join output in `replace(outputs('Join'), '\n', decodeUriComponent('%0A'))` as a quick fix.
- Too many items make the digest unreadable. Add a Condition after Get items to only include what's needed, or cap it with `take(body('Select'), 10)` and add "…and X more" at the end.
- Nobody sees the digest. Double-check you posted to a channel people actually have notifications on, not a quiet archive channel nobody opens.
Make it your own
- Swap the destination for an email digest instead of Teams — same Select/Join pattern, just end with Send an email (V2) instead.
- Add a second Get items with a different filter (e.g. overdue items) and a second section in the same message, so one digest covers both "what changed" and "what's late".
- Group the digest by a column (e.g. project or owner) using a Condition or a second Select, if a flat list starts getting hard to scan.
You just closed out the series
Seven flows, three patterns: react to a trigger (Flows 1–3, 5–6), wake up on a schedule and go looking for work (Flow 4), and now gather several results into one message (Flow 7). Between them, that's most of what a business team ever needs from Power Automate — and none of it needed a developer.
If you'd rather build all seven hands-on, with a trainer answering the "why didn't this work" questions in real time, our Power Automate Introduction course covers Flows 1–4, and Power Automate Advanced covers the multi-step logic behind Flows 5–7.
That's the series. Seven flows, seven Mondays' worth of admin, gone.
Next available dates
Power Automate Introduction
Live, instructor-led training with a real trainer. Book a seat on a scheduled date below, or get a quote for your team to run it privately.
5 Nov 2026
Thursday · Virtual · 1 day
£445per person + VAT
28 Jan 2027
Thursday · Virtual · 1 day
£445per person + VAT
30 Mar 2027
Tuesday · Virtual · 1 day
£445per person + VAT
Other courses related to this article
Ready to train your team?
Tell us what you need and we'll come back to you with a detailed quote.
- Tailored contentBuilt around your team's work and skill levels.
- Flexible schedulingDates and times that suit your team, not ours.
- Your place or onlineDelivered at your office or virtually.
- Better value per headOne trainer, one day, your whole team.
- A dedicated trainerYour team gets all of the trainer's attention.
- Realistic examplesSample data built around the kind of work your team does.
We reply with available dates and a price for your team. No obligation.
Related Articles
 Tips & Tricks
Can you Calculate Variance Using Excel?
In this guide, we explain variance as a measure of how widely data points deviate from the mean and shows why understanding this spread is useful for deeper insight and risk assessment. It walks readers through calculating variance in Excel, distinguishing between the VAR.S function for a sample and VAR.P for an entire population, then demonstrates each with a car-sales case study.
 Tips & Tricks
How to Use Excel Lookup with Multiple Criteria
This blog explains how Excel’s LOOKUP functions—particularly XLOOKUP and VLOOKUP—can retrieve data based on multiple criteria. It walks through a step-by-step example of finding an employee’s sales in a specific region, showing both an XLOOKUP formula and a VLOOKUP alternative that uses a helper column.
 Tips & Tricks
Excel Skills Self-Assessment Questionnaire
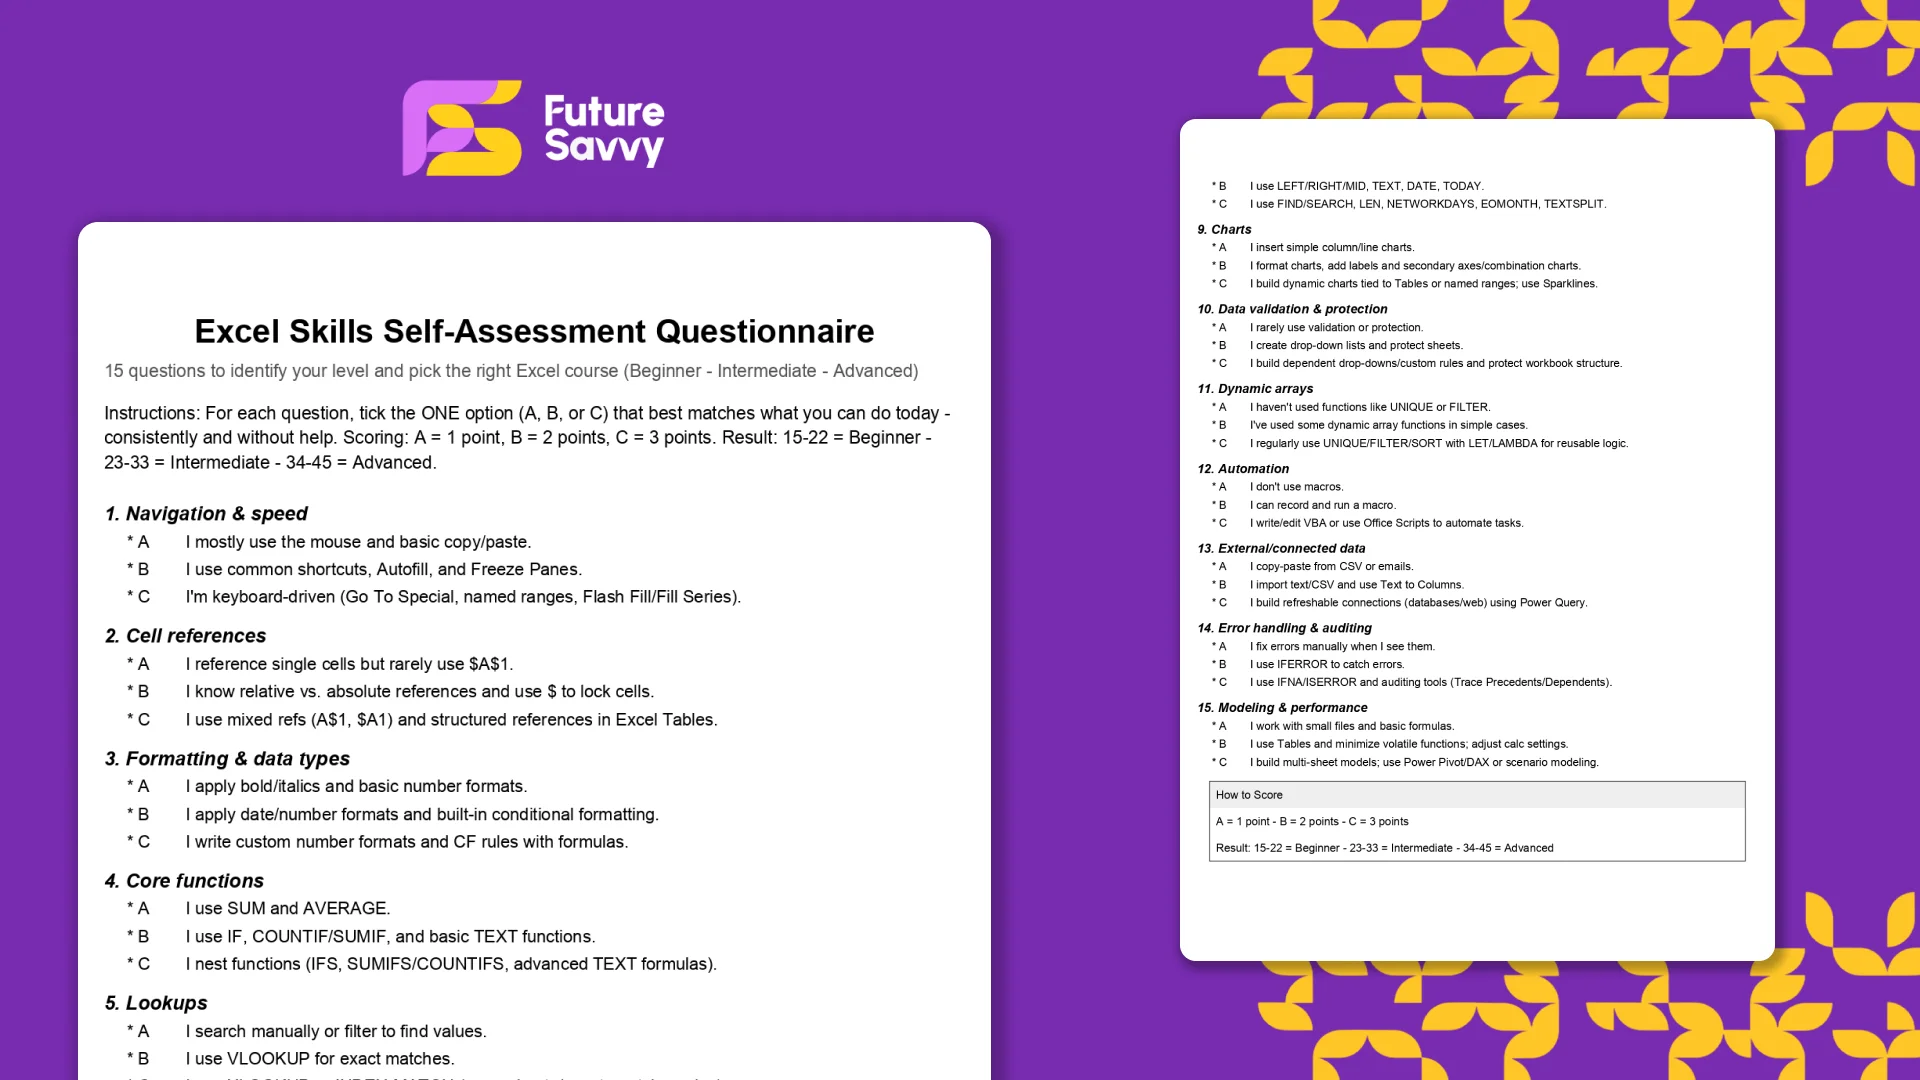
This free, printable Excel Skills Self-Assessment helps you quickly gauge your level and pick the right next step in your learning path. It contains 15 multiple-choice questions spanning navigation, formulas, lookups, tables, PivotTables, charts, dynamic arrays, Power Query, and more. You’ll score yourself and interpret the result to see whether you’re Beginner, Intermediate, or Advanced - then follow tailored course recommendations based on your score.
Insights for modern teams
Stay ahead with our latest learning trends, tools, and success stories. Enter your email address below to receive updates from us.